Wednesday, 6 May 2015

Flowers and colour

Everything is about bright colours for me at the moment. I need spring to get into full swing and am really looking forward to summer. The few days of sunshine we had over the bank holiday weekend were a wonderful hint of warm days to come, but it’s gone back to wind and rain all to quickly!


But with my beads and wire, I’m in control. So flowers, greenery and brightness have been prominent. 

Spring flower garden cuff

Pink orbit ring
Green buds necklace

Swirling heart pendant
Candy bright bracelet

Green pearl pendant


Monday, 24 November 2014

Creative thought process


I've never been entirely comfortable using gold colours. Gold tones don't tend to suit me, so it's never been something I naturally reach for when making. I decided it was time I gave it a go so I dug out my Warm Gold colour plated copper wire - real gold is not something to try out new ideas with! 

All the different coloured enamels make the copper slightly different to work with. They might be stiffer, dent easily or be very brittle and difficult to work with. Emerald green in particular is a sod to work with, but has such a bright vivid colour the result is alway worth the frustration and work to get to the finished item. This was the first time I had worked with warm gold and it was an absolute joy to shape! The enamel just seamed to flow with every curve and weave I was giving it. I started forming some quite complex swirling patterns. It was as though the wire was alive in my hands and moving into place all by it's self.

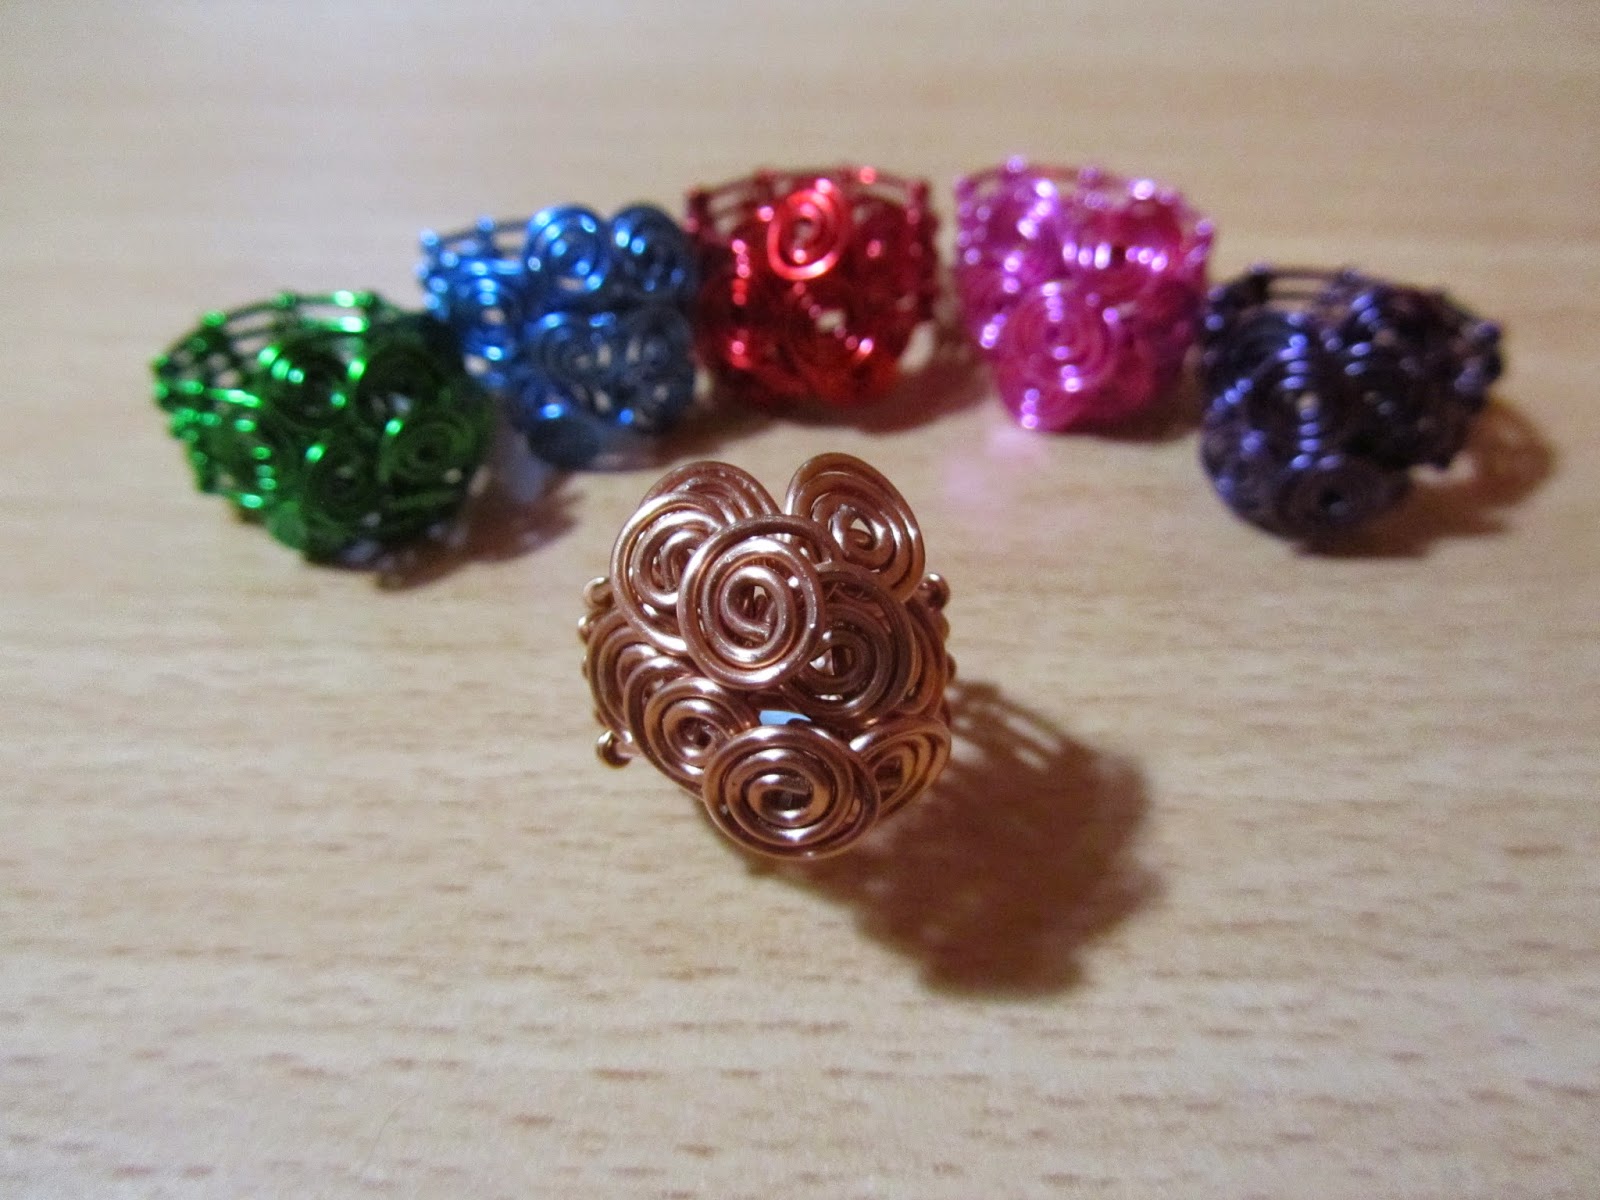
The patterns being formed made me want to make a statement ring to really showcase the movement the wire was capable of. Once made I just had to try it id different colours to see how it would look. And yes, the emerald green was the most difficult on to make!

Medusa rings - including a difficult emerald green

Medusa rings

Having made a few rings, I started thinking that if I flattened the ring out it would make a really nice pendant. So, back to the warm gold coloured wire and again the shapes flowed. But what kind of chain to hang it from? A standard bought chain just didn't seam right for this design. It needed to be something both delicate looking and strong enough to support quite a solid pendant. I also wanted it to be in exactly the same colour as the pendant. A tried out a few different link shapes and stiles of hand made chain but none of them looked quite right. Then I gave a Viking Knit chain with a simple hook and eye clasp a go. Perfect!

Gold coloured Medusa pendant

Again, once I had it working in the warm gold I had to try it out in other colours - although I haven't yet done any viking knit with the emerald green as I'm not looking forward to pulling it through the draw plate!
Line up of Medusa pendants


It's taken a few weeks and lots of hours of work, with plenty of discarded trial runs. But I really enjoyed working through each stage and the end product is definitely worth it!


Friday, 14 November 2014

Star flower necklace


What a year. It’s been so full of all sorts of things that I haven’t been able to keep up with myself! Family emergency after family emergence, a relocation and a back injury (or two!) have filled up our lives. 

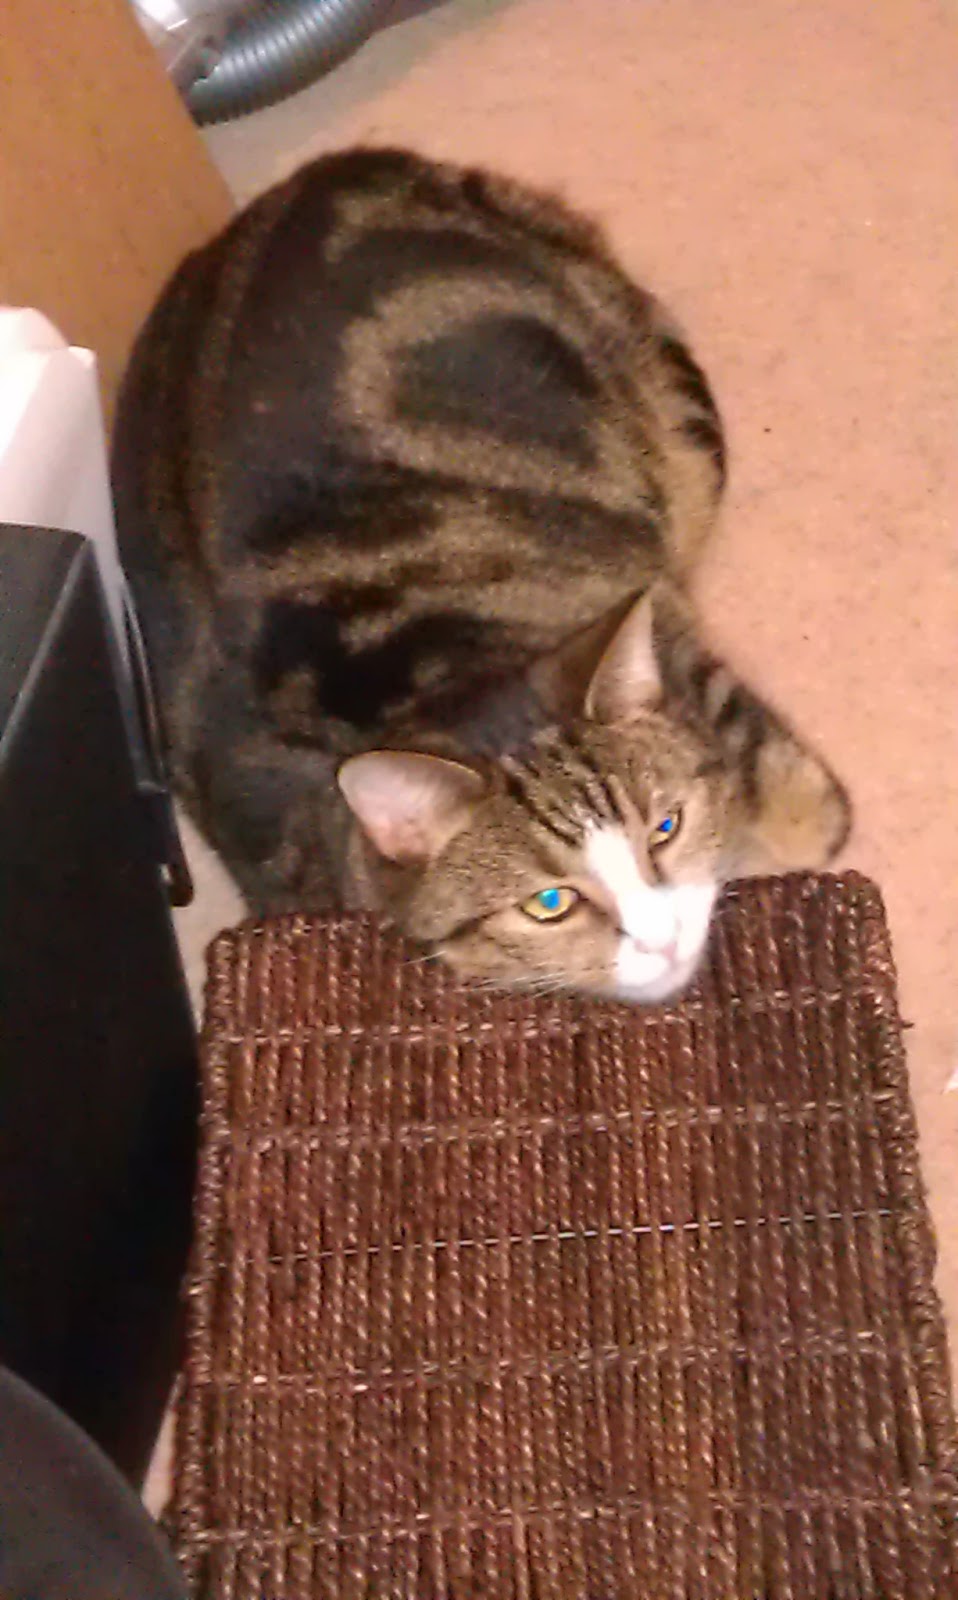
But Christmas and a new year is fast approaching and it’s time to start looking to the future. I’ve kept making all though the year and now it’s time to share everything. So many lovely things made and sold. And of course, Silent Bob has watched over it all, inspecting my work to ensure high levels of quality!

Silent Bob watching over me

 Beaded hair comb

Star flower necklace on a Viking knit chain


First thing to do - Christmas craft fairs. Doors open at 10am at the Grand Pavilion in Matlock Bath on Saturday the 15th and Sunday the 16th November. 

Tuesday, 8 April 2014

Bead deliveries


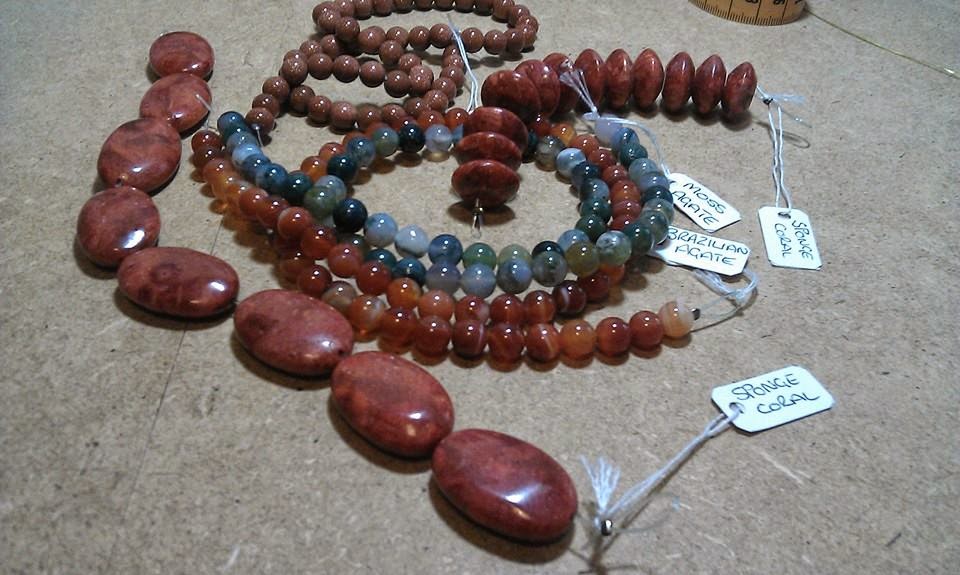
Yet again my desk has been so full I can’t work. This time with lots and lots of new beads! I’ve had some huge deliveries and have been really excited getting everything sorted out.


One box of beads being opened

And now I have so much choice with what to work with. I can’t wait to get started! Just one question, what to make first?

Small selection of semi precious stones

Boxes of glass beads

Sunday, 9 March 2014

Craft Fair


Over the last few months my desk has been full of new makes ready for my first craft fair of the season. I’m finally getting to the last finishing touches. There will be some a design I’ll be showing for the first time so I’m really looking forward to it.

Purple memory wire bracelet

Purple memory wire bracelet
Three stand link bracelet


No sneak peeks of the new design, you’ll just have to come along to see it. Doors open at 10am at The Grand Pavilion in Matlock Bath on Saturday 15th and Sunday 16th March.

Saturday, 18 January 2014

Photography and Etsy


My photographer did a huge batch of photos for me just after Christmas. It always amazes me the difference between his photos and my snapshots! I love how he captures the colours and details so accurately.


butterfly earrings

spiral ring

tangle ring

three strand bracelet

flower cuff


So now the work of getting everything listed in my Etsy shop begins. You can see what I have available by clicking this link.


Sunday, 29 December 2013

A Christmas commission

The build up to Christmas is hectic for everyone and this year has been no exception! I’ve had the additional fun of having a special commission. The brief was quite vague, a red statement piece to ware with a black top. It can be quite liberating to work with an open brief like that, but also very risky. One person’s idea of a statement piece is another person’s idea of over the top! And with no guidance as to what kind of jewellery was expected - necklace, bracelet, broach or hair slide - the potential for disappointment was huge!

As I know the lady it was intended for very well, I decided that a necklace would be the best option as she rarely wears any other form of jewellery. That decided it was time to get out the sketch book and start planning a design.

40 hours and over 25 meters of vivid red wire later the final piece was finished! Unfortunately I did not have any time booked in with my product photographer before it had to be handed over, so the only photos I have are my own, not a mistake I intend to make again!

Commission statement necklace


It’s 8cm by 8cm, made with 0.9mm and 0.5mm plated coper wire with high grade crystals. The lady is was made for loved it and has been proudly wearing her new necklace at every opportunity. It’s such a good feeling when the time and effort of a commission piece is loved, worth every second of the work that goes into them!


I am now in the process of designing a range of slightly smaller pendants based on the same principals. And I have time booked with my photographer to get some good photos of them! 

Sunday, 17 February 2013

Jar full of beads


When people start to hear that you make jewellery you tend to get a mixture of responses, ranging from total disinterest, through mildly patronising to the more wonderful and surprising reactions. This is definitely one of the latter! One of the ladies at my sisters wedding, on hearing I make jewellery, said that she had a large jar of beads and bits of broken jewellery that she'd been keeping for years – would I be interested in taking them! She knew she'd never be able to do anything with them but couldn't bring herself to throw them out.

Expecting an old jam jar with a few broken necklaces and maybe an odd earring I jumped at the chance. You just never know what you might find in something like this. It's an exciting prospect, digging through looking for treasure!

When I actually saw what she had, I was amazed and very grateful! A large kilner jar just packed with beads, broken necklaces, tie pins, odd earrings and sequins as well as other bits and bobs. Going through this is going to take some time! The sequins were, in a way, the easiest to deal with – I know I won't use them so they got passed on to someone who will. But everything else........


Jar full of beads!


At first look there's a lot of glass and resin pearls in subtle shades of pink and gray. They range in size from tiny rice pearls to much larger focals. Some show the signs of time and wear, some don't. These are not colours I would often use, or beads that I would normally pick so it's going to be a fun challenge to work with them.

Bead spread


But there were some that instantly caught my eye as something I wanted to use! Some lovely little seashell shaped charms, a lone deep green glass faceted round. A really interesting collection of little blue stones in what looks like a broken clip-on earring. Some lovely rich amber coloured resin beads and an unusual metal cage spacer among others.

Old clip on earring

Rich green faceted round

Metal cage spacer

Resin beads

Cute seashell charms


For now the jar is sitting on my work bench as ideas tumble round in my head. I think it's going to be some time before I work my way through them all!

Friday, 1 February 2013

Flower rings

-->
I have been asked to create a large pink flower ring for a lady I know. It's always difficult to do a commission when the customer is unable to have a look through either examples of past work or a selection of beads to pick the ones they like. As a result of the limited time we had for her to discuss with me what she wanted, I decided to make a selection and give her a choice. So, I now have three large pink flower rings. I wonder which one she'll pick! To give you an idea of scale, the wire daisy has a diameter of 7cm (about 3 inches).


Large pink flower rings

Saturday, 26 January 2013

Growing things

-->
With Christmas over and the snows falling I find myself longing for spring. This is reflected in the jewellery designs I most want to make. Flowers and leaves always feature a lot in my work, but at this time of year when I'm most craving to see the real world bloom they are particularly satisfying to make.

Leaf earrings

These leaf earrings may take a lot of concentration and time to make, despite being only 1.5cm long (plus hook), but are very satisfying for that part of me that wants winter to hurry up and go! And they look particularly good with the matching leaf necklace.

Leaf necklace

Of course, Silent Bob is just as eager for the warm weather to come and spends his time watching me work!

Silent Bob, watching me work

Saturday, 20 October 2012

Etsy


There's something very personal about making jewellery and I feel very protective of my finished pieces. As a result, I have only sold my work face to face. However, I have been under increasing pressure to open up an on line shop. So, for all those people who want to own a twistedwhisker piece, but don't live close enough to come and visit me, I have opened my very own Etsy shop. My product photographer spent this afternoon working on my first batch of items and they are now available for you to buy. Thank you to all the lovely people who have asked for this. And yes, that is my neck and wrist modelling!

Product photographer at work!

Monday, 15 October 2012

Lampies


The wonderful multi-talented MagicFlying Boots over at The Other Fickle Pixie recently made a set of lamp work beads for me. They are a lovely set, made on a base of purple glass with light blue raised dots, the focal bead also has red raised dots. They have sat on my work bench for a good few weeks whilst I  tried to decide what to make with them. I wanted something that would show them off to their full potential and not drown them out in lots of fussy wirework or swamp them in other spacer beads.

Lampwork bead set

Eventually I decided on a simple S link chain, the lampies connected using wrapped loops. I found some lovely pony seed beads which change colour depending on hour the light hits them – ranging from purple to blue and just a hint of green to contrast the focal. The focal dangles from the chain on a spiral headpin and the chain continues, using simple S links and pony bead units, round to the back where it's fastened with a hook and loop. A lovely elegant necklace for some beautiful beads!

Finished necklace with lampwork beads
 

Tuesday, 11 September 2012

Stone charms


One of the lovely things that can happen when having a clear out is you find forgotten treasure. My lovely other half recently discovered some stones that he had polished years ago. He asked me if I though I could do anything with them – they aren't beads and so aren't drilled but I jumped at the chance!

The selection of polished stones
The stones are a wonderful mix of colours with a good depth to their shine. I thought they'd be perfect to make caged charms with. Starting with the quartz and the blue stones I made drop charms by caging them in 0.4 silver plate wire. When looking through my stash for a chain to hang them from I couldn't find anything that I thought looked right, so I broke out the jump rings and made a simple double link chain-mail bracelet. The drops were then hung from it using the same size jump rings. I'm very happy with the result.


The finished charm bracelet

Sunday, 2 September 2012

Bird's nest

I love making wire bird's nests. There's something wonderfully creative about forming the shapes out of straight wire, then nestling you bead "eggs" in the centre. Once made they can be hung with jump rings from ear hooks or necklaces. My preference is to mount them on a ring or bracelet shank, a really extravagant option would be to make a bracelet just of bird's nests - each attached to the next with jump rings!

Bird's nest bracelet and ring, using silver plate wire and blue glass "eggs"

Monday, 27 August 2012

Memory wire bracelets


These last two months have possibly been the busiest two of my life. Including one very exhausting but rewarding week that will be life changing. At times like this it's nice to fall back on simple skills and so I've done a big batch of memory wire bracelets. It's a type of jewellery making I often overlook as the focus is on the beads rather than the wire. But the results are striking in their simplicity. The bracelets give a wonderful stacking effect that can be either chunky and bold or fine and delicate. Here's a small selection of what I've been making.....


Green bracelets with butterfly charm detail and red bracelet
Pink nugget bracelet and purple mixed bead bracelet

Monochrome bracelet and chunky pink bracelet 

Sunday, 8 July 2012

Cat interference

-->

Towards the end of the week I was making a summer cuff; using gold plate wire, lucite flowers and bee charms. It's a long make with approximately 15m of wire, 45 flowers and over 4 hours of work. My cats respond differently to the prolonged concentration. Mog, the older one, sees it as competition for my attention and I have to stop her trying to sit on my work. Silent Bob, our 14 month old boy tries to join in. It's because of this that I almost dread taking a break on a long make. This time, I heard a thump from my beading room, some scrabbling noises and then Silent Bob came trotting towards me, bag of lucite flowers bouncing against him as he proudly brought them to me. He'd had to fight with them so there was a hole in the bag and he'd left a trail of flowers through the house. It took forever to clean up.


I'm really looking forward to the day I have a studio separate to the house!

Silent Bob being playful

Saturday, 9 June 2012

New tools

-->
I'm feeling an odd mixture of excited and sad today. My new tools have arrived, which makes me excited, but that means retiring my old cutters and that make me sad.

Like a lot of people, when I first started making jewellery I “borrowed” a pair of wire cutters and a pair of pliers from a standard tool kit. These are fine to use while you are just starting out, a cheep way to take that first step. But once you know that this is something you want to do, they just don't do the job. This is especially true if you want to do wire work. Standard pliers will scratch and mark your wire, the cutters will not give a nice flush cut. As for turning a neat loop or starting a spiral without round nosed pilers, it's just impossible.

So I started out on what has become an obsession for pliers. My first buy was a pair of round nose and some proper flat nosed pliers. Next came my first love. My flush cutters. At just under £10 I thought them to be quite expensive. Nicely weighted with cushioned handles that fit in my hand perfectly. And they had cool purple and green stripy handles! Best of all they cut, at least to one side of the blades, with a reasonably flush face.

They have seen a LOT of use, those cutters. Their flush cutting ability is no longer up to my standard of wirework, resulting in a lot of filing of wire ends. But I was loyal to my first cutters. This spring however, I started to notice that they just weren't slicing through the wire as easily as before. And then, horror of horrors, a chip! Right near the tip of the cutters where they get the most use! I was devastated.

Time to finally upgrade.

I found a set of Xuron tools – flush cutters, round nosed pliers and flat nosed pliers – in a little tool roll that seamed to be perfect. After reading a lot of reviews for them and other makes I decided to take the plunge.

My new pliers in their tool roll
And they are wonderful! The flush cutters are so very sharp and the cut they make so very smooth – on BOTH sides of the cutting blades. And they have a lovely point perfect for getting into tight little coils of wire where an end can be nicely hidden. The flat nosed pliers are equally wonderful, very narrow, just perfect for tucking in ends or encouraging weaving to go where I want it to. The round nosed pliers are taking a bit more getting used to. Their point is much finer than my old ones and so fantastic for starting spirals, but they don't get as wide at the base as my other sets so aren't as useful for turning different sized loops or making cones. 

From left to right, flat nosed pliers, flush cutters and round nosed pliers
 As for the old cutters. I'm keeping hold of them. It might be sentimental, but it just would be the same to look into my tool kit and not see their stripy handles!

Monday, 4 June 2012

Rain

-->
We've had quite a lot of rain this bank holiday weekend! 

Personally, I love the rain. I like the way light sparkles through it as the rain first comes in, and the way it makes everything feel like a bit of an adventure. Then there's the smell! I might think differently if I had an outdoor job, until then I'll carry on getting inspiration from rain drops.

Raindrop

Saturday, 26 May 2012

Earrings

-->
I have a small confession to make.

Earrings. 

Despite them being the first kind of jewellery I really started to express myself with wearing as an adult, I don't tend to make them very much. Usually if I make a pair it's to “complete” a set. The earrings are there purely to finish off the bracelet or necklace, all the real design has gone into the bigger pieces.
I think it's because they are so small, restrained by the necessity of being light enough not to pull on ears, I feel that larger items offer more scope for design. And yet when it comes to wearing jewellery, they are still my first choice. This is obviously something I needed to address!

So, when a cut short holiday this week gave me a lot more time than I usually get, I decided to give myself a challenge:

Make a stand alone pair of earrings every day
They should not be part of a set and they should show some form of design and expression. 

I found it very hard to start with, falling back on just hanging a bead from a hook (although, even that is surprisingly effective with the addition of bead caps and hand made ear wires).

-->
Bone dagger and pumice drop earrings

-->
Purple peanut bead earrings

I needed a little bit of outside inspiration. I got this in the form of a butterfly wing earring designed by Abby Hook. These reminded me of what it is about working with wire that I truly love – the feel of it bending, the way it forms such natural lines. This was the break through I was looking for! The small size of the earring need not be a design restraint, if looked at from another angle it can free you from the need of heavy structural components. 

Butterfly wing earrings

All the pairs have inspired me to think of other larger pieces I could make to go with them that I just wouldn't have thought of without making the earrings first.
I am very happy with the results of this week, and will definitely be making more stand alone earrings in the future.
 
-->
Turquoise drop earrings
-->
Coil and crystal earrings
Washer earrings
Pink and black spiral earrings
Line up of the eight earring pairs
One other important thing I learnt from this exercise: Photographing dangling earrings with a standard camera is REALLY hard. Next time I should take advantage of living with a professional photographer and all his kit! To try to do it myself once is learning. To do it twice would be foolish.