I'm over a week late in blogging about the wonderful Crafternoon hosted by
craftydistraction back on Saturday the 5th, but I do have a good reason for this! Jenny (
theotherficklepixie) and Lou challenged me to come up with a better way of attaching their wirework daisies to rings. I had come up with my method that evening, but my wonderful
photographer has been injured and was unable to take the step by step photos. As the detail I wanted went beyond my point and shoot ability I decided to wait. He is still in pain, but kindly agreed to help me out, so here's my guide!
Gather your tools.
I used 1mm silver plated copper wire, flush cutters, round nosed and flat nosed pliers and a ring mandrel (yes my mandrel has American sizes, but it does the job and it's easy enough to convert)
 |
| The tools |
To make a daisy with a 4cm diameter:
Flush cut approximately 60cm of wire.
Measure 10cm in from one end and make a 90 degree bend with the point of your pliers.
I found it easier to measure the next stage before making the petals, but if you prefer to do it by eye, skip this part. From the bend, mark off every 2cm up to 24cm.
Using the base of your round nosed pliers, bend the wire back on itself in a 'U' shape at the first mark.
At the second mark use the tip of the pliers to bend the wire back in a 'V' shape.
Continue along the wire, bending alternately with the tips and the thicker base of your round nosed pliers until you get to your last mark (this will become the base of your sixth petal). At the last mark make a 90 degree bend away from your work.
You should be left with a comb shape with a 10cm tail at one end and a much longer tail at the other end:
 | |
| Wire comb |
|
Use your fingers to pull the comb round into a daisy shape, with the tight bends in the centre:
 |
| Daisy |
Use the 10cm tail to wrap around the base of the petals, pulling them in together as tight as you can and leaving 2.5cm to 3cm unused.
You should now have a daisy with a short tail sticking out the back, and a long one sticking out the front:
 |
| The wrapped daisy. |
On the long tail at the front of the daisy, move approximately 7cm up the wire and make a 90 degree bend. Grasp the wire here with your round nosed pliers, holding the bend, pointing up the loose end:
 |
| How to hold for the spiral |
Use the round nose pliers to start a spiral around this point. This can be a little tricky, but try to make it as tight as you can. You will be left with a spiral with a tail of wire sticking out from the middle.
 |
| Starting the spiral |
Continue twisting your spiral until you get down to the daisy. Trim the remaining wire (the stuff sticking out the middle of your spiral) to about 3cm and feed through the centre of your daisy. This process will distort your spiral so use your fingers to shape the spiral over the daisy centre. Use flat nosed pliers to make sure you've pulled the tail through tightly.
If, at this point your cat decides to jump up and start rubbing and headbutting your hands, you will get fur in the wirework as I did. Try to distract them with food and toys :)
 |
| Pulling the wire tail through to the back of the daisy |
Make your ring shank. I used a few wraps of wire around my ring mandrel. You need to make it slightly bigger (about half a size) than you need as the next step will take up room inside the ring:
 |
| Making the ring shank |
Push the ring shank against the bottom of your daisy between the two tails. Wrap one clockwise around the shank and one anti-clockwise. Remember to trim and squeeze in the ends as needed so they don't scratch your hand!
 |
| Attaching the ring |
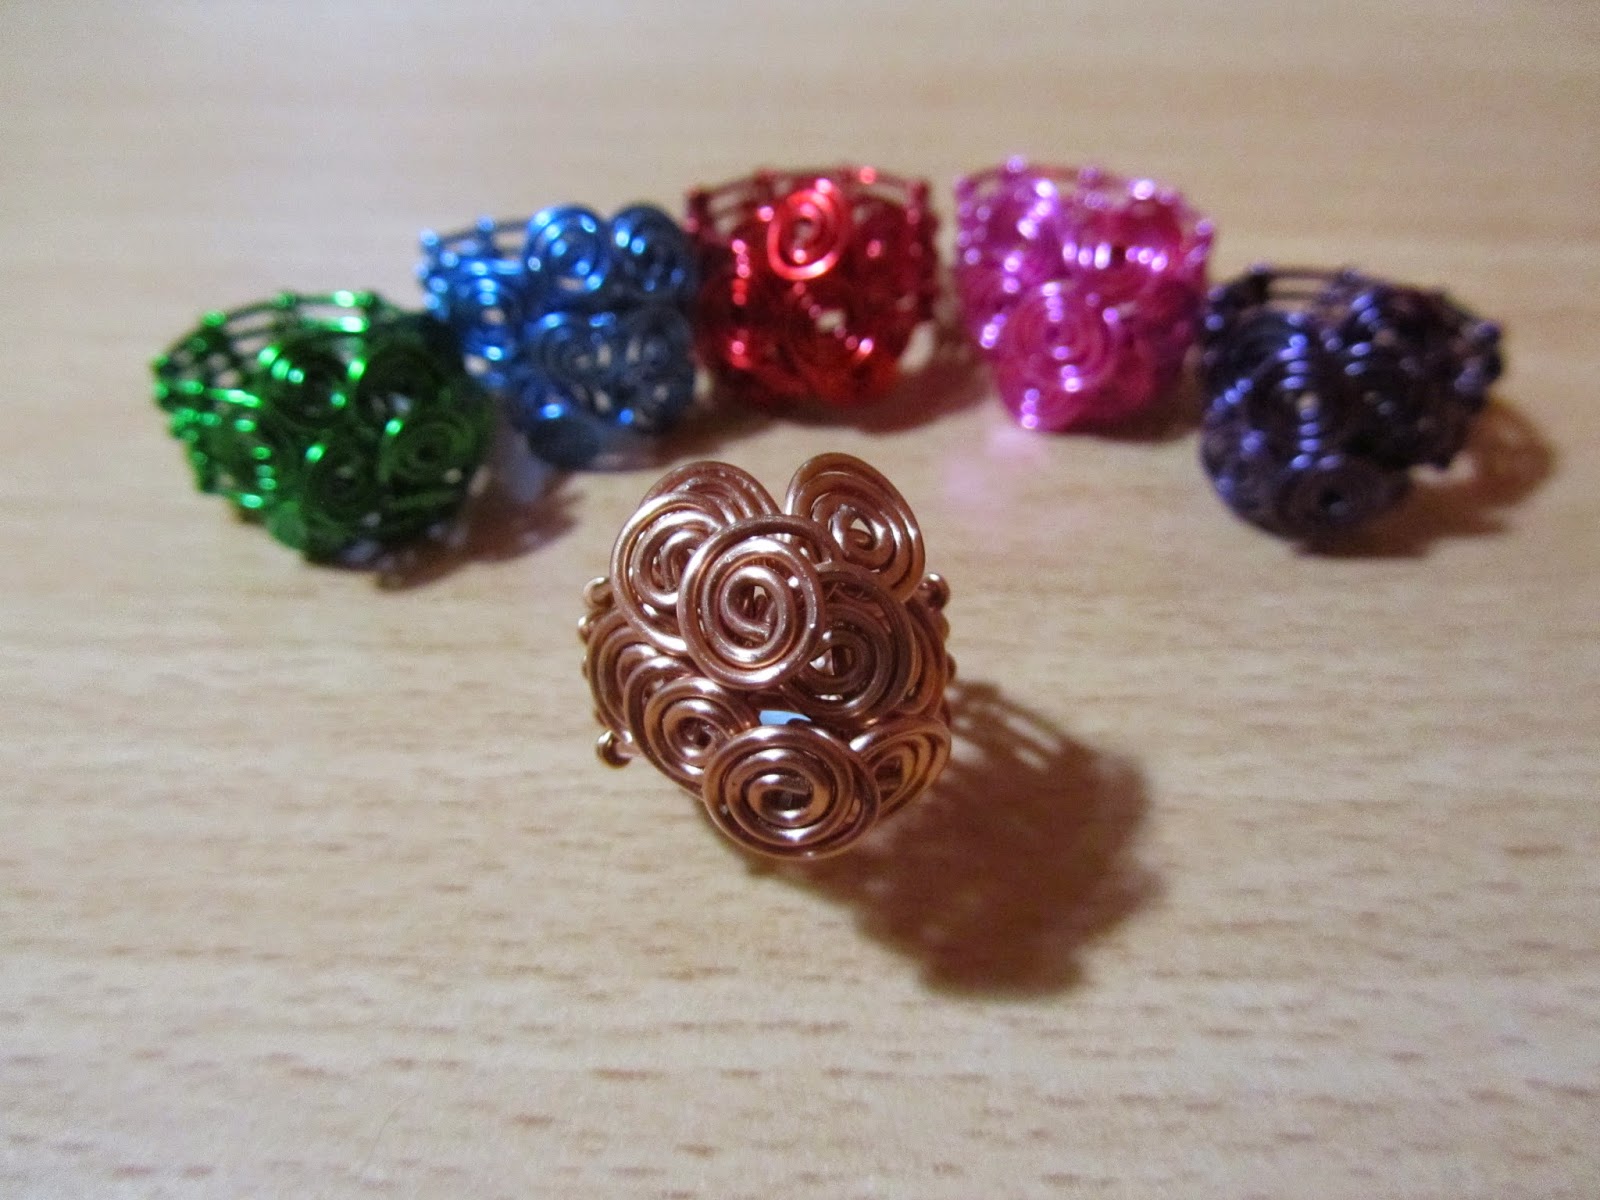
And here's the finished ring!
 |
| The finished ring |